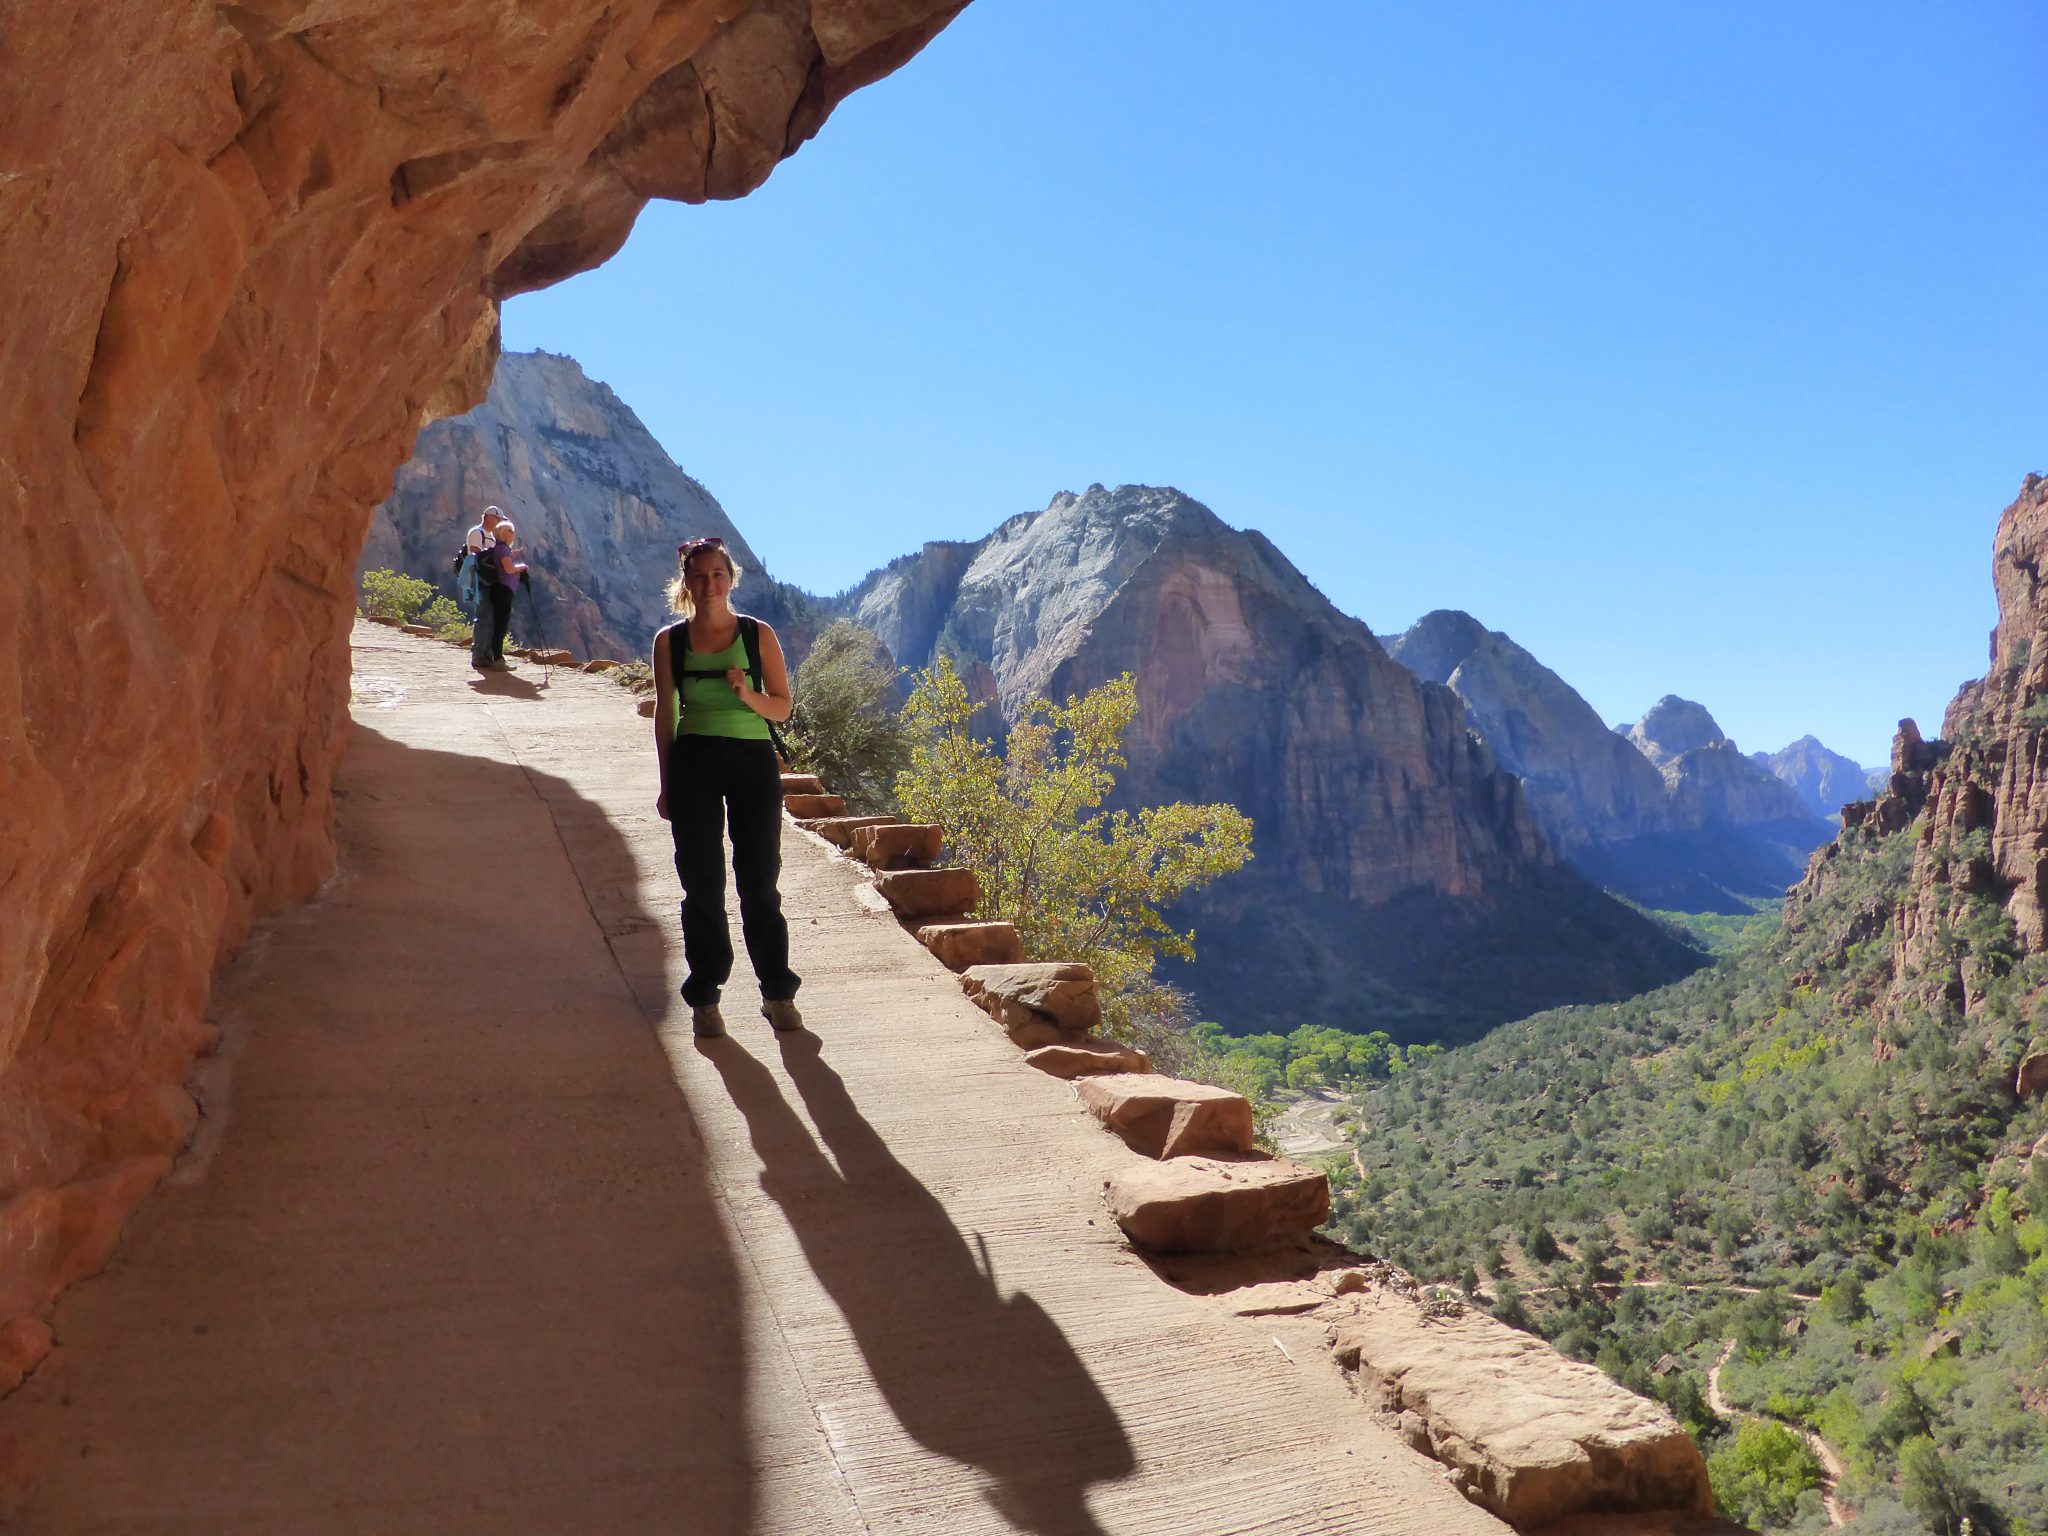
During our 5 week long trip in the US, my dad and I traveled through California, Nevada, Arizona and Utah. We basically went from one amazing highlight to the other. We biked our way through Monument Valley, admired the grandeur of the Grand Canyon and went on several amazing hikes in all of the states. One of those hikes was Angels Landing in Zion National Park.
Angels Landing: an introduction
Angels Landing is a 454 meter tall rock formation located 1765 meters above sea level in Zion National Park. It’s one of the most popular hikes in this national park, because of its amazing views and adventurous climb. However it’s also quite a notorious hike since climbing up Angels Landing isn’t without danger. Several people have already died while trying to do this hike. Therefore, if you’re afraid of heights and narrow passages I would not advise you to do this trek.
How to reach the start of the trail
You’re not allowed to enter Zion National Park by car. You will be asked to leave your car at the visitor’s center. The only means of transportation within the national park are the shuttle buses which take you all throughout the park.
To start your hike towards Angels Landing, you should take the shuttle bus and get out at the bus stop “Grotto” (the 6th stop). Since this is quite a popular hike, you will bump into a lot of people on the way. Make sure you bring lot’s of water and snacks because the hike takes between 3 to 6 hours without any possibility of buying any refreshments.

Hiking Angels Landing
After you’ve gotten of the bus at “The Grotto”, you have to cross the Virgin River to start the hike. The trail is very clearly indicated and impossible to miss. Despite the fact that the elevation gain is only about 450 meters, this hike is still quite strenuous. The steep trail will bring you to “Refrigerator Canyon”.
What’s in a name? During the first part of the hike we were constantly hiking in the sun but once we stepped foot in Refrigerator Canyon, we immediately had to put our jackets on. On a hot Summer day this part of the hike is probably very refreshing, but since we were hiking Angels Landing in October, it got quite chilly.

Walter’s Wiggles
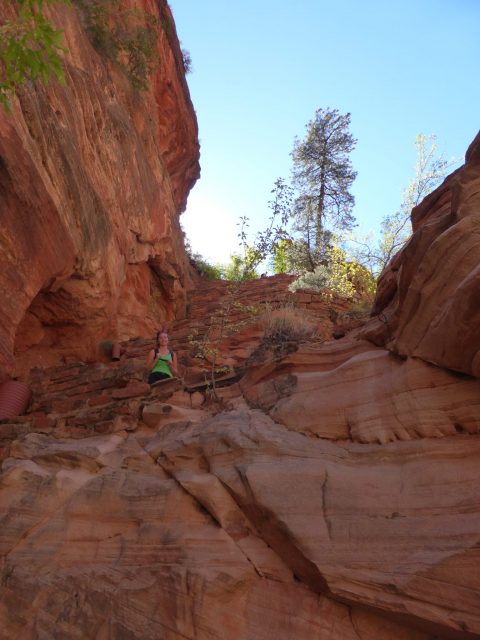
After leaving the canyon, we arrived at “Walter’s Wiggles”. These are about 21 switchbacks which will definitely kill your calves. This is probably one of the most tiring parts of the hike. After you’ve conquered these switchbacks, you arrive at “Scout’s Lookout”. This is a good moment to stop and get some rest because not only do you get a good view of Angels Landing, you also get a beautiful view on the valley below. The final part of the climb towards Angels Landing starts here at “Scout’s Lookout”. From now on you will be hiking up a narrow path which brings you all the way to the summit. This part is very exciting, since you’ll be climbing up rocks whilst holding on to chains and ropes. I really like those kind of hikes, however, like I said before it’s not for the faint-hearted and people who are afraid of heights.
Preparing for hiking Angels Landing
Since this hike is extremely popular, you will meet A LOT of people on the way. During the first parts of the hike this is not an issue since the trail is wide enough. However, during the final part it might get a bit tricky. The road after “Scout’s Lookout”, is extremely narrow. Luckily, there are a couple of spots where you can let people pass by easily.
Make sure you wear decent hiking shoes or boots. I remember meeting people wearing sneakers or even flip-flops! This hike is not exactly a walk in the park, so do yourself a favor and make sure you’re wearing decent shoes.
Since the hike takes in between 3 to 6 hours, I would also advise you to bring tons of water and snacks. There are no possibilities to fill up your water bottle along the way, so make sure you’ve got plenty.

I really liked this hike because it was very adventurous and the surrounding landscape is just breathtaking. Have you ever been to Angels Landing? What was your experience like? Please feel free to leave a comment below!

Facebook Comments